

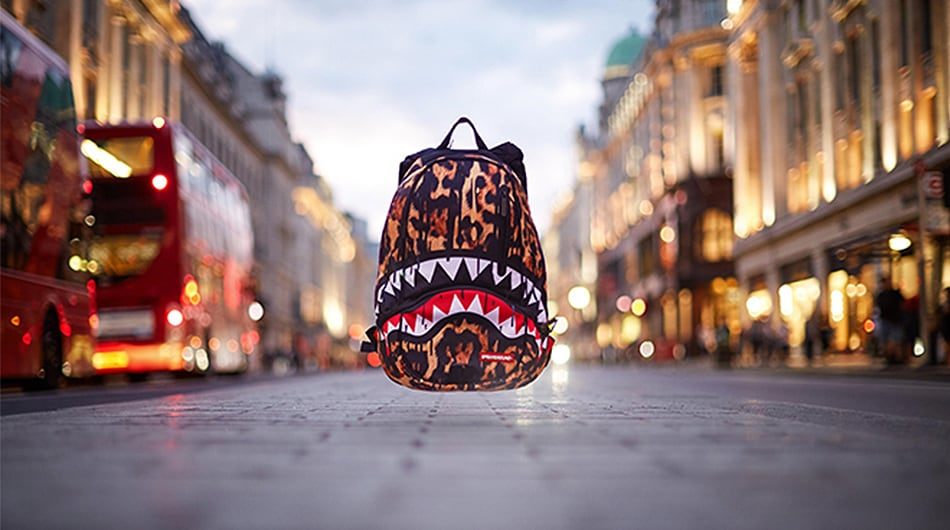
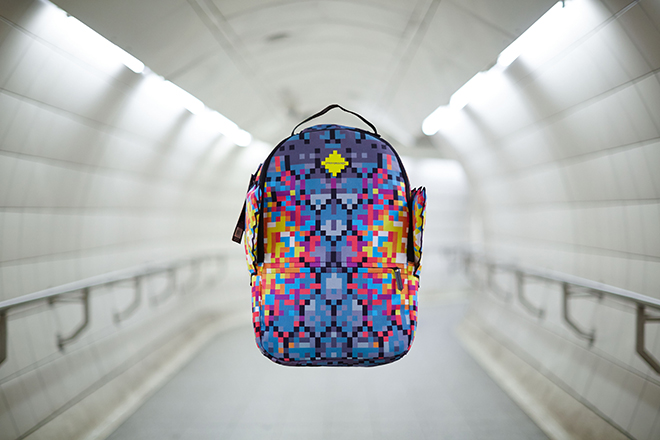
Every day we take in a vast amount of imagery via the internet and social media. So it’s likely you may have seen images like this one, above, and wondered how it was done. Well, now you can find out…
Planning
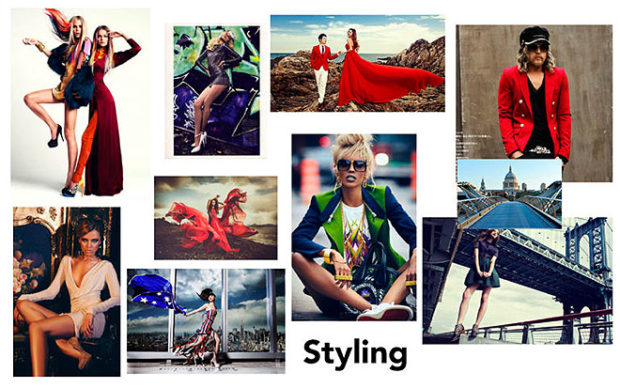
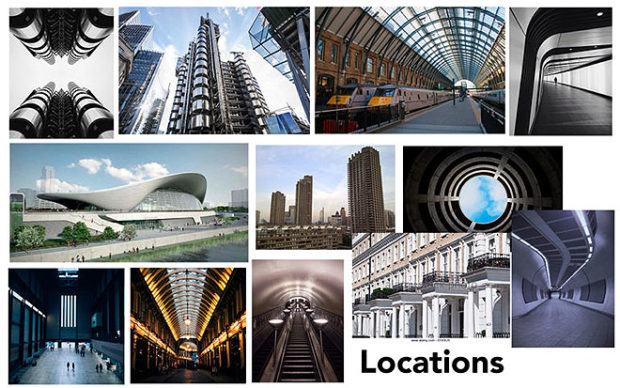
The first step is to plan the shot. This could consist of knowing where you want to shoot, what you want to shoot and in what style. The best way to do this is by creating a mood board – the one below is from a previous shoot. This will be a huge timesaver and generate a clear idea about the end result.
The shoot
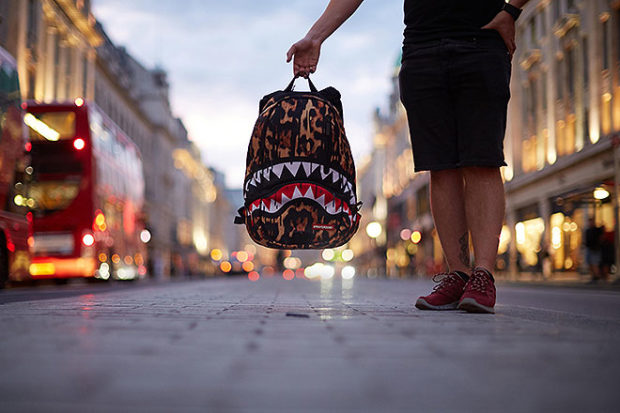
Shoot the bag in the location that you want. To make this work you need to get an assistant to hold the bag in the right position as still as possible to make it look realistic. If you don’t have an assistant you can get a stand with a very thin string attached to it for the bag to hang from. However, if you’re shooting multiple bags at different locations, this could be quite tedious to set up and be a burden to carry everywhere. Depending on what kind of look you want, you will need to adjust camera settings accordingly. For this image, I wanted a blurry background so the bag pops.
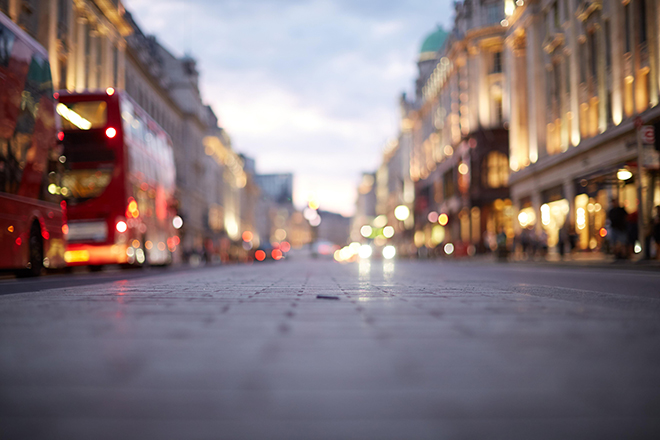
Soon after the bag is shot you have to quickly get the clean background plate with the same background blur. You do this by switching the focus on the lens from automatic focus to manual so the original focus is left unchanged. To have the same background focus is very important as it will be much easier to superimpose the bag in post-production.
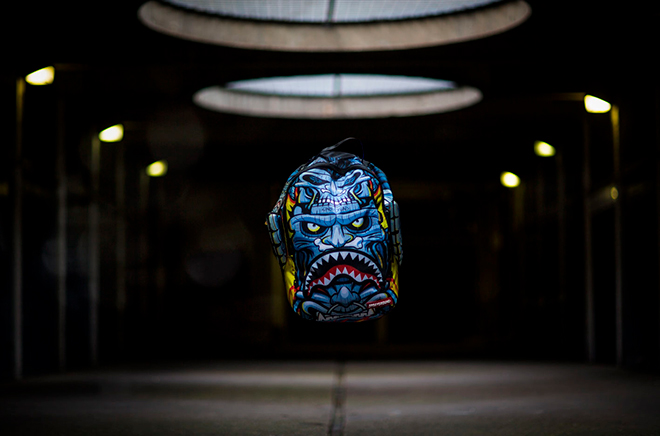
This was a particularly difficult bag to shoot because of the location. There were various factors that needed to be considered. Such as the different lights that are illuminating and the movement in the image by the people and the vehicles. The composition, the distance and the lights had to be exactly like the first image. If there were any light spills on the bag or any other irregularity, the finished product wouldn’t look right.
Post production
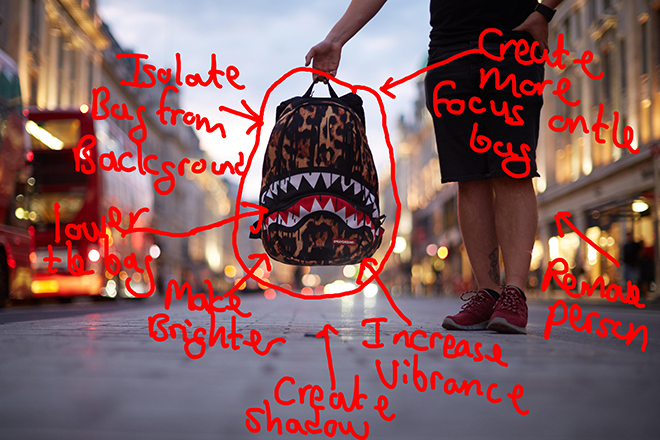
Retouching is what helps make a good photo great. Your first step is to outline what needs to be retouched. Like the example below. This is completely up to the photographer or the client as it is their vision. This also gives a clear direction on what the end image will need to look like.
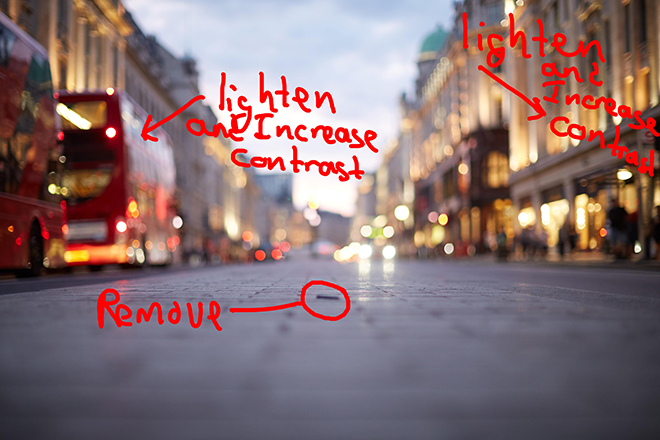
For people who can’t understand my writing:
- Lighten and increase contrast on the background (clean plate).
- Remove object from floor.
- Remove person from image.
- Isolate bag from background.
- Lower the bag.
- Make the bag brighter.
- Increase the vibrance on the bag only.
- Create shadow.
- More focus on the bag.
Not in any particular order.

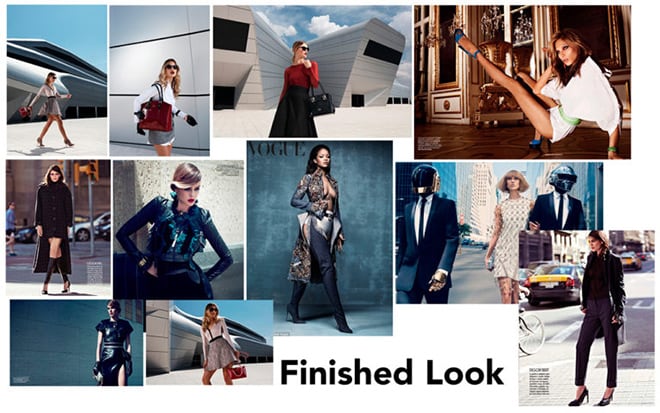
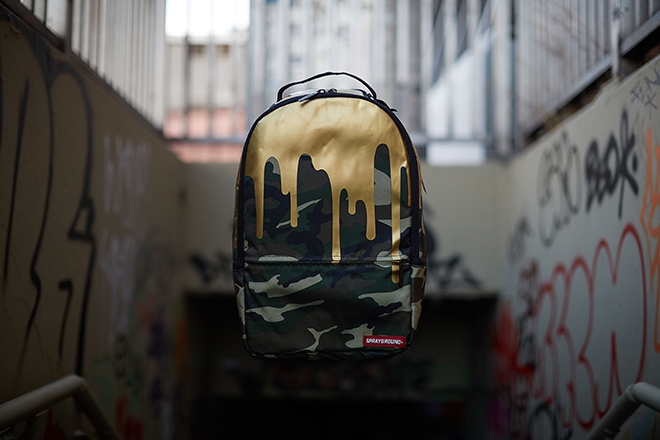
More examples:
Credits:
- Photographer: Muffadal Abbas (@bymabbas)
- Assistant: Alex Walker (@mister.walker) & Moeez Ali (@moeeztali)
- Bags: Sprayground (Sprayground UK)
Kit used:
- Canon 5dmk3
- Canon 85mm f1.2
- Manfrotto tripod